Quick Start
This guide will help you get Logchef up and running quickly. We’ll cover installation, basic setup, and how to make your first log query.
Prerequisites
Section titled “Prerequisites”- Docker (for the recommended setup) or a Linux/macOS system for binary installation
- A ClickHouse instance (included in Docker setup)
- SSO Provider (Dex is included in the Docker setup)
Installation Options
Section titled “Installation Options”Using Docker (Recommended)
Section titled “Using Docker (Recommended)”The Docker setup is the easiest way to get started with Logchef, as it includes everything you need: Logchef, ClickHouse, Dex SSO, and Vector for demo data.
# Download the compose filecurl -LO https://raw.githubusercontent.com/mr-karan/logchef/refs/heads/main/deployment/docker/docker-compose.yml
# Start the servicesdocker compose up -d
This will start:
- Logchef UI and API on port 8125 (accessible at http://localhost:8125)
- ClickHouse for log storage (ports 8123 and 9000)
- Dex SSO provider on port 5556
- Vector for generating demo logs
After starting, you can access the Logchef UI at http://localhost:8125.
Using Pre-built Binaries
Section titled “Using Pre-built Binaries”For production deployments or running without Docker, you can download pre-built binaries:
# Grab the latest version tag from https://github.com/mr-karan/logchef/releases/latest (e.g. 2.0.0), set it once, then download:VERSION="2.0.0"
# Download the release for your platform (example for Linux amd64)curl -L -O https://github.com/mr-karan/logchef/releases/download/v${VERSION}/logchef_${VERSION}_linux_amd64.tar.gz
# Extract the archivetar xzf logchef_${VERSION}_linux_amd64.tar.gz
# Make the binary executablechmod +x logchef
# Create a basic configuration filecurl -L -O https://github.com/mr-karan/logchef/raw/main/config.toml
# Edit the config file to match your environment# You'll need to update the OIDC settings and database path
# Run Logchef with your config./logchef -config config.toml
Building from Source
Section titled “Building from Source”If you prefer to build from source:
# Clone the repositorygit clone https://github.com/mr-karan/logchef.gitcd logchef
# Build the frontend and backendjust build
# Run with the default configjust run
First Login
Section titled “First Login”- After starting Logchef, visit
http://localhost:8125in your browser - You’ll be redirected to the SSO login page
- For the Docker setup, use the default credentials:
- Email:
admin@logchef.internal - Password:
password
- Email:
Initial Setup
Section titled “Initial Setup”Before you can start querying logs, you need to set up a team, create a data source, and assign the source to your team.
1. Create a Team
Section titled “1. Create a Team”- Navigate to Access > Teams
- Click “Add Team”
- Enter a team name (e.g., “Engineering”)
- Save the team
2. Add Yourself to the Team
Section titled “2. Add Yourself to the Team”- From the Teams page, select your newly created team
- Under Team Members, click “Add User”
- Add your email address and select appropriate permissions
- Save changes
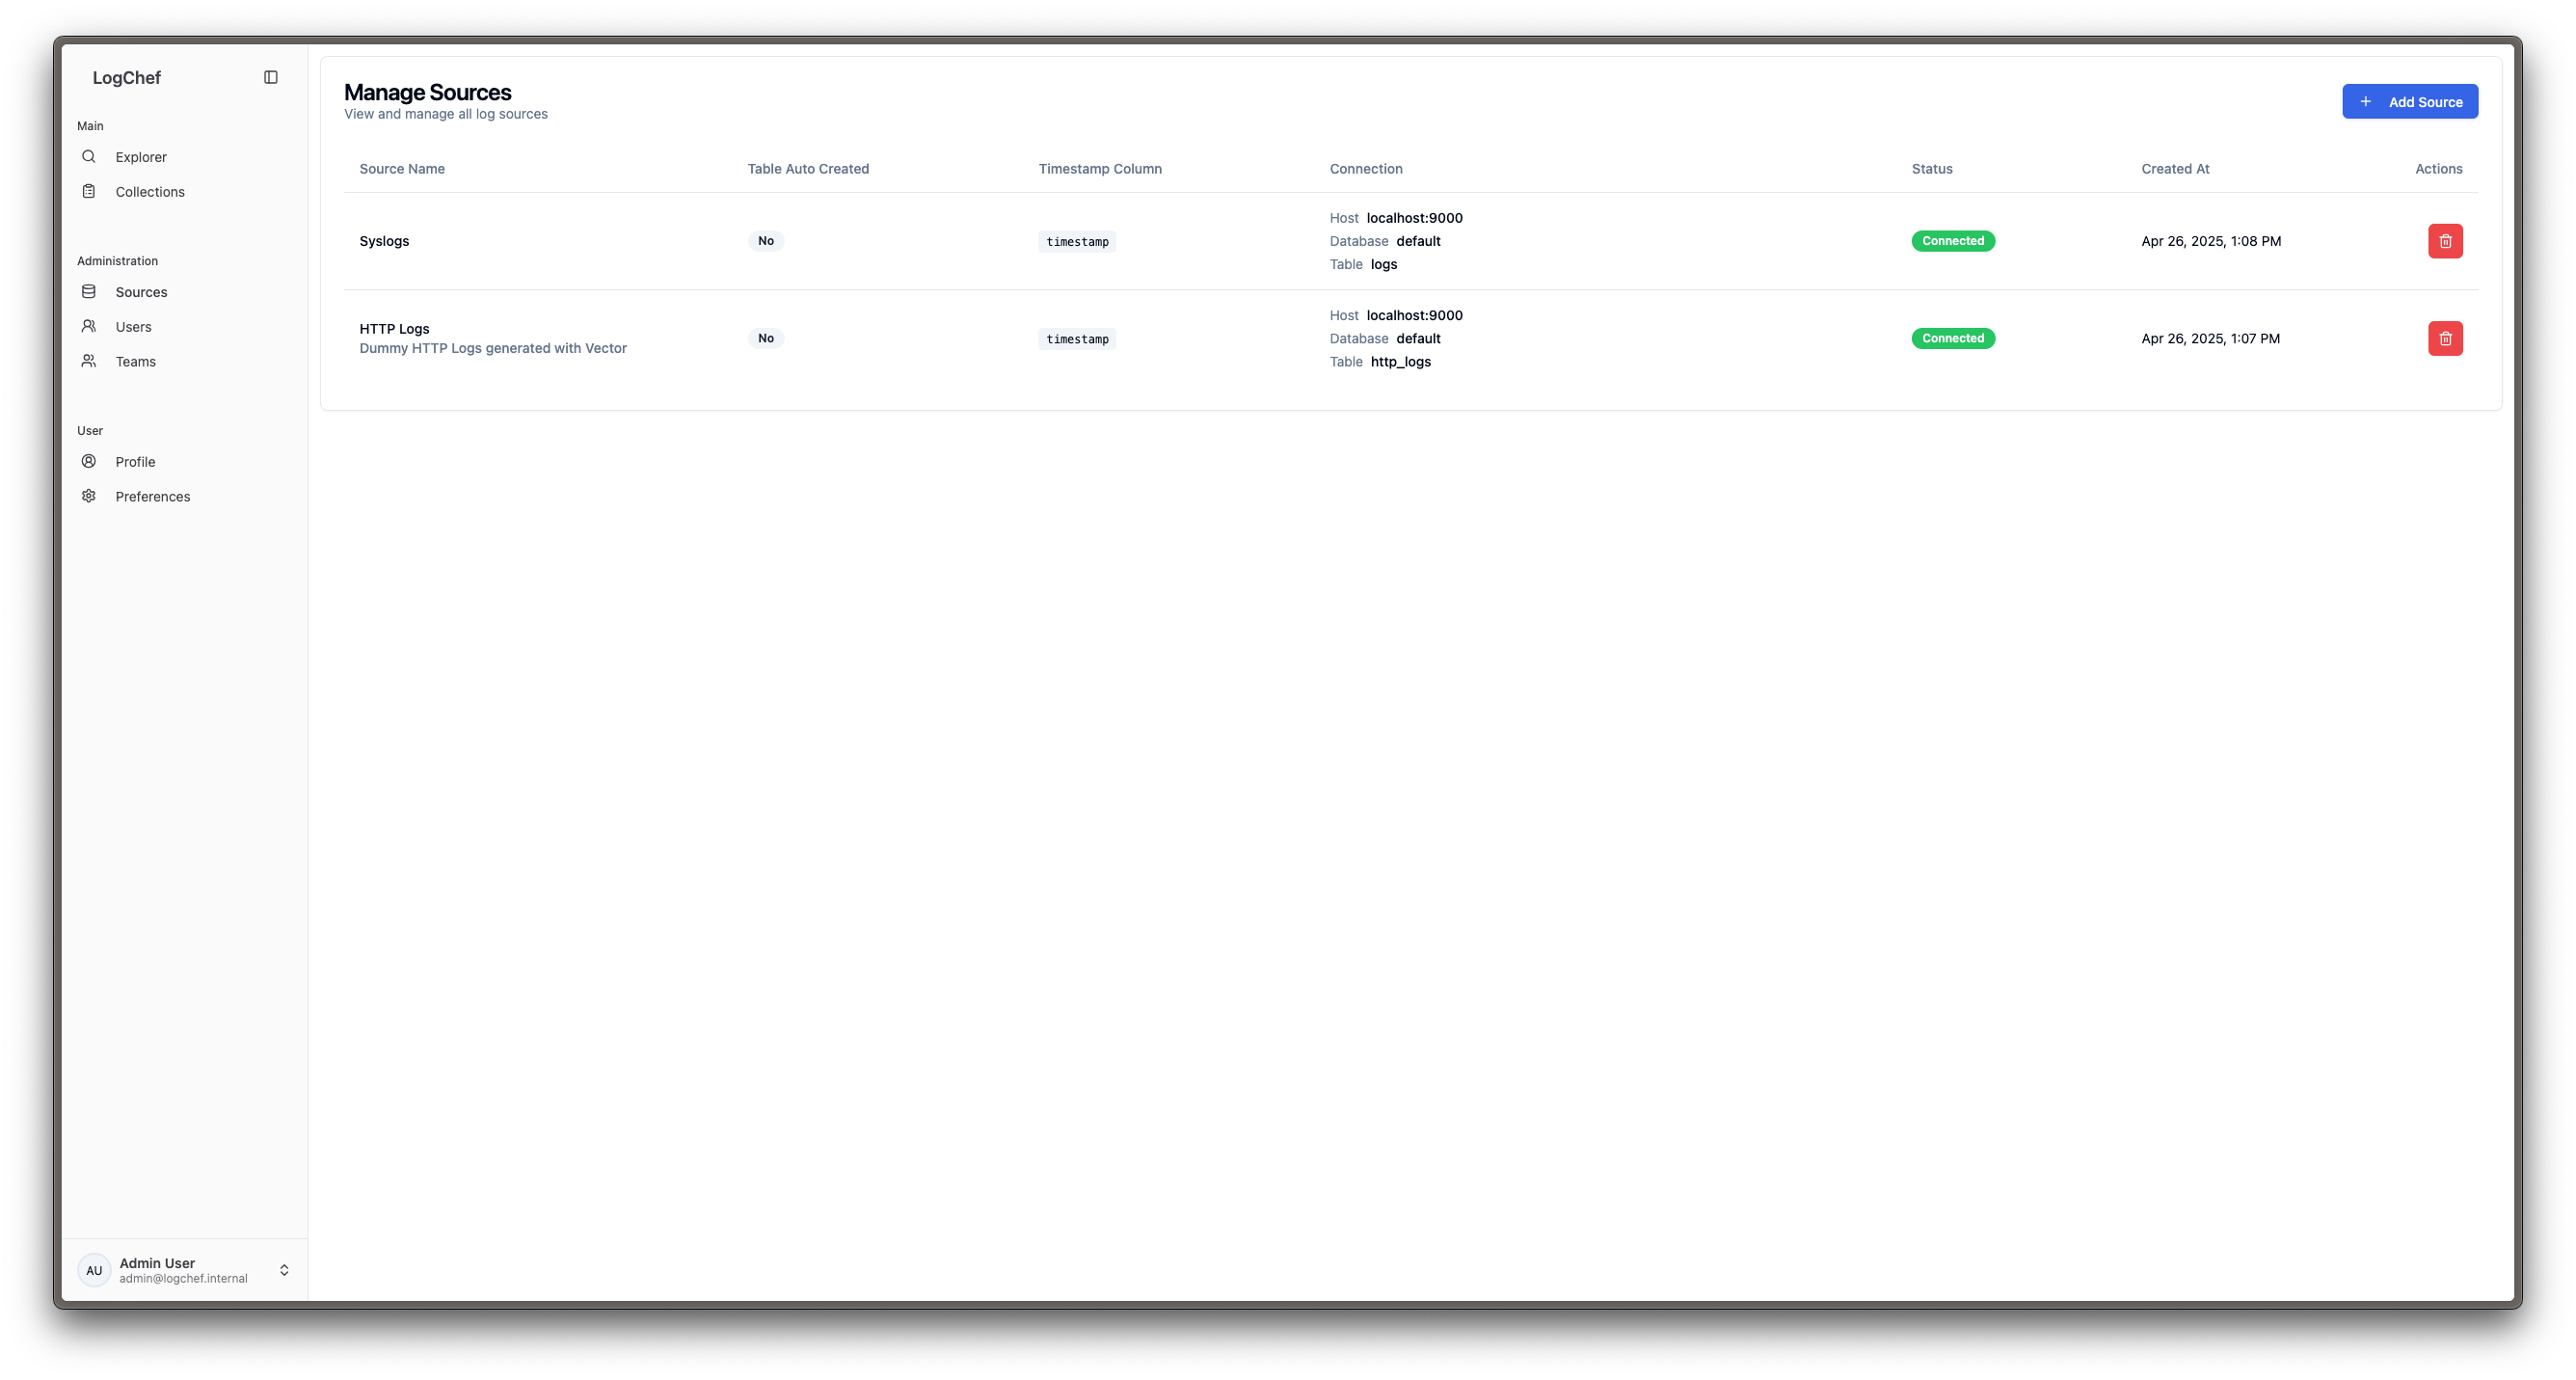
3. Configure a Data Source
Section titled “3. Configure a Data Source”- Navigate to Sources > Manage Sources
- Click “Add Source”
- Enter your ClickHouse connection details:
Name: Demo SyslogsHost: localhost (or clickhouse if using Docker)Port: 9000Database: defaultTable: syslogs
- Test the connection and save
4. Assign the Source to Your Team
Section titled “4. Assign the Source to Your Team”- Navigate to Access > Teams
- Select your team
- Under Data Sources, click “Add Source”
- Select the source you created and save
Writing Your First Query
Section titled “Writing Your First Query”Now you’re ready to explore your logs:
- Go to the Explore page
- Select your team and data source
- Try some example queries:
Basic search:
namespace="syslogs"Search for specific text in the log body:
namespace="syslogs" and body="error"Next Steps
Section titled “Next Steps”- Learn more about the search syntax
- Explore advanced querying examples
- Set up Vector integration for your own logs
- Learn about user management